About Me

Welcome to my blog. Back in July 2010 I purchased a VW T5 '06 van with the vision of converting it into a camper van. To share my experiences, on the well trodden path of converting these wonderful vehicles, I have created this blog which I'll try to update regularly. Enjoy.

Thursday 11 November 2010

November 2010 - Fitting Autogliss curtain rails

Whilst these curtain rails are very compact and able to be bent to shape, one must take care not to create too much of a bend or the rail will distort. I've tried to keep the bends to a sensible bending point...


One last trim addition...


And some more pics of the rear lining...


Finally, the time has come.... The van is off to get the internal furniture fitted in Sheffield, so I'll post again when the van is back...

October 2010 - Van returns all carpeted

The finished lining job was pretty good and yet again looking so different now...


I purchased some spare lining felt to tackle some odd bits like covering the side step (needed replacing due to wear or covering)


Tidy job indeed...


The curtain rails can be fitted next.

October 2010 - Finishing forward panel holes

Time to finish off drilling the cable holes in the forward roof panel and clip back in place.


One last trim of the driver side ply panel, around the window, before the van goes off to Transformer Transporters in Derby for the internal carpet lining. I didn't trust glueing myself for eternity to the inside of the van, let alone let loose with a pair of scissors in there!


Not a bad job, if I must say...

Monday 8 November 2010

October 2010 - LED light fittings

Time to drill the holes for the lights before the carpet lining goes in.


I purchased four Nova 9 Fri-Light LED 12v lights from Grassroutes Leisure. The usual two wires, positive and negative ground, simples...


Not sure about the Silver Sands bezel trim colour, so will be colouring those in a dark grey colour before fitting.

Nearly forgot to mention the LED strip lights that i picked up at Vanfest. Cool blue lights for that mood lighting...

October 2010 - Cable run to main battery

Having decided to keep the switch mode charging cable from the main battery (under bonnet) to what will be the furthest corner (wardrobe) of the van, it was up to gaffer tape to keep wires in place. It should be noted that the longer the cable the more voltage drop is incurred. As such, this is why I chose not to get bogged down on aesthetics and run the cable round the framework tidily like the other wires you can see. The bonus will be the maximum charging current that I can get...


The cable hanging down is still to be cable clipped up by the way... it's all in the presentation after all...

September 2010 - Wiring, wiring and more wiring

The key is preparation and good planning. I know what I want to install from the outset, so wire end locations have been mapped out; leisure battery in rear wardrobe, fridge wiring on the opposite side, led light positions in roof etc. With the roof panels off it is very easy to work out which path your wires will run. Cable ties to the ready...


It's getting late into the evening now but good progress made for today. I used loom tape to protect the cabling and it makes a very professional look to the installation.

August 2010 - Roof Monitor installed

Got myself down to Slough and picked up a Boss 12.1" flip down monitor. But first, I chose to install two strips of baton on which to support the display bracket. As holes were already in the metal support beams running across the van, I simply used some speaker clips and fastened the wood securely to the metal. Monitor feels solid and secure now.


With screen flipped down it looks sweet...

August 2010 - Off to get windows fitted

With all panels cut around windows, it's time to head off to very very south, to visit Vansport Ltd in Penzance. Well, a few days in Somerset to break up the journey anyway. So it's temporary carpet in the back and makeshift bed and I'm off.

... A day walking around Penzance and the van is ready. I collect and drive back to the country to leisurely inspect the work.


The van looks so different now and my only concern was the finish of the inside sill. Could of been finished with some smooth sealant to hide the bumps and rough finish of the now set sealant.


Next, to get back home and start the big wiring job.

Friday 5 November 2010

August 2010 - Removing panels and installing reversing camera

Removing the rear panels was naturally a breeze and allowed access to the rear of the number plate door.


Now I have direct access to the back of the number plate to drill my reversing camera cable hole through the metal door. The rubber hose wire protector shown below which runs from the light cluster to the door, became a momentous effort to feed wires through. Take time with it and the wires eventually go through. I taped the wire to a metal coat hanger and threaded it through that way. Took me three hours though!!


All the side panels down one side are now off and behind the rear light cluster is now accessible.


This is where I need to get to...


The wire that the reverse positive feed will use can be found here by tracing colours on light cluster unit and volt metering when reverse selected (peel back the wiring loom tape in the top left hand corner of the opening shown here, above the chassis ground bolts) so this provides the reversing light power and will be connected to the head unit reverse power feed, to automatically switch the head unit to reverse camera video display every time reverse is selected. The reverse camera cables are now ready to start being routed to the front cab.

August 2010 - Installing the Meos-MC701B head unit

The Meos-MC701B is now installed and I have been driving around with it installed for a couple of weeks now. Overall I've been pleasantly surprised by the Meos unit. A far cheaper alternative to the expensive Pioneer or Kenwood options, yet quality certainly meets the 'it does what is says on the tin' saying. Now it hasn't all been plain sailing though; a couple of days into enjoying my new ICE, I was adjusting the volume whilst awaiting further sat nav instructions. Through my impatience of not waiting to hear the sound, I speedily raised the volume extremely high, to the point that suddenly 'pop' went the unit. A fuse had blown. A few minutes later, glove box out again and the unit was working with a new fuse. Has not happened since, so fingers crossed. The unit functions well generally, with perhaps a clunky bluetooth phone interface, however the ability to have hands free through the stereo speakers far outweighs this and conversations have been clear and stable. With a rather limited ipod interface, the ability to have my ipod connected directly to the head unit and select/pause etc songs is still a nice feature to have. Not fully compatible with the iPhone it should be noted. I'll let you know if my view changes on the Meos but so far thumbs up especially given the cost.


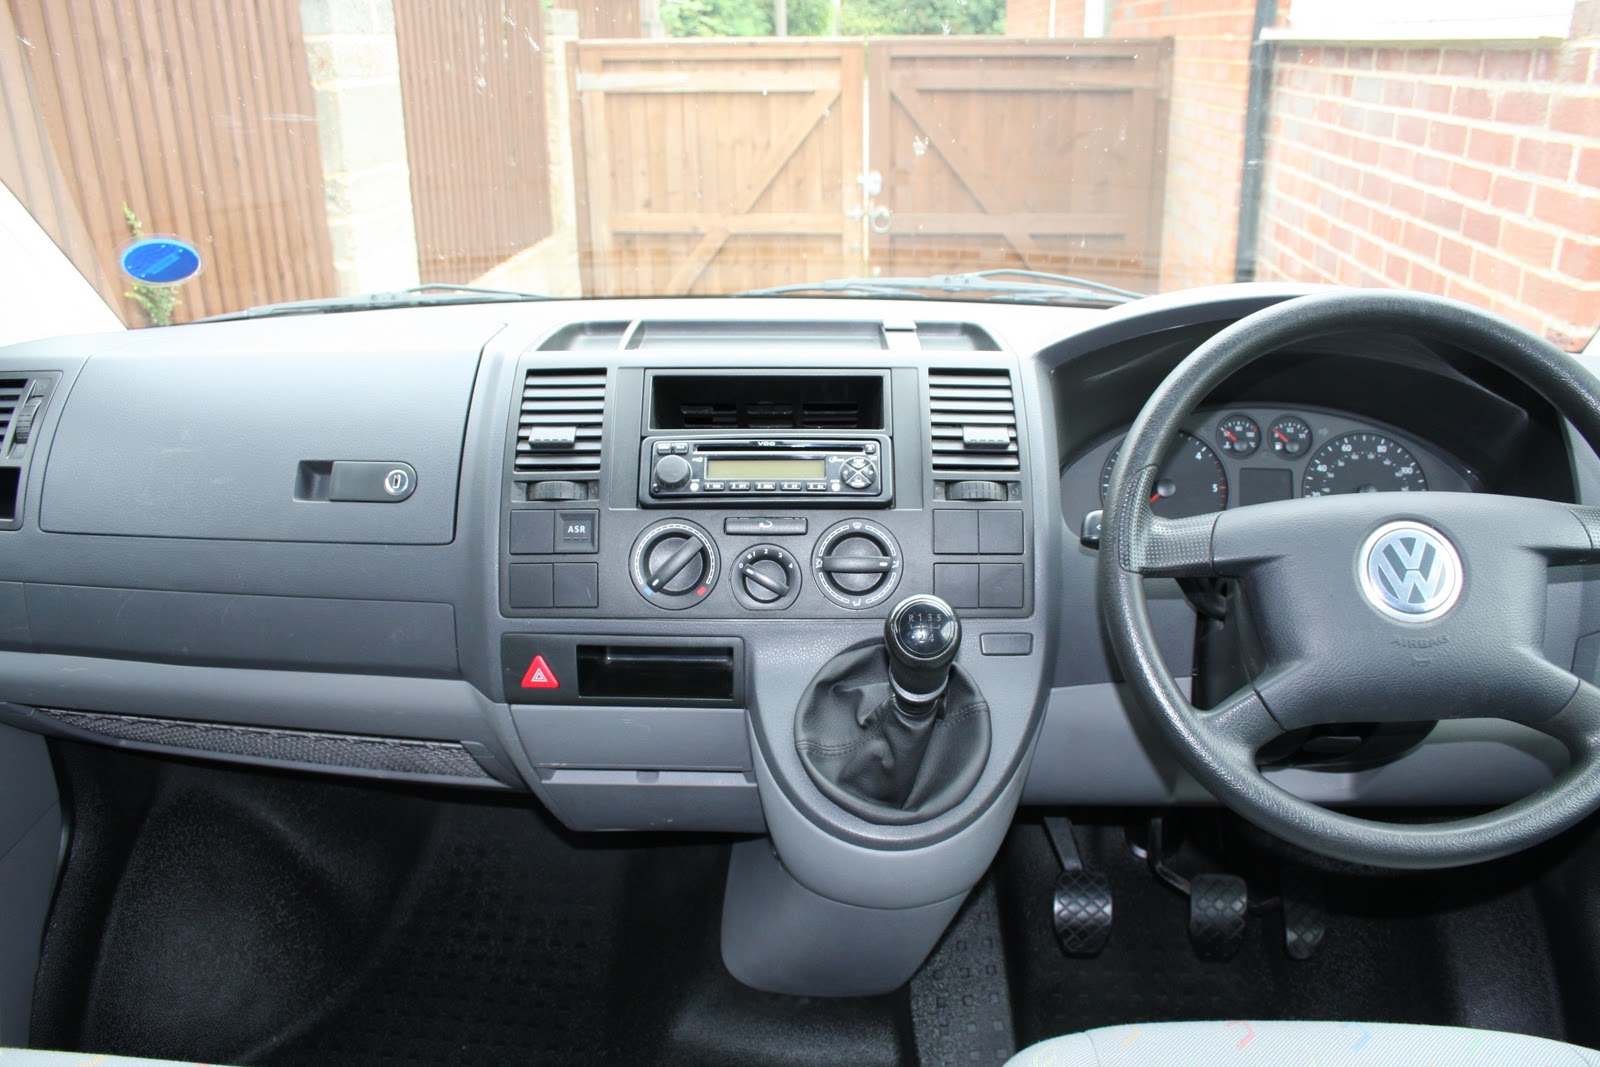
The installation was straight forward. Remove the glove box and gain access to wiring looms, with the T5 not requiring any ISO conversion on the cabling as the Meos connects directly into the van's stereo wiring. A bonus I thought. The permanent live (yellow) and switched live (red) wires are wired different on the ISO block than the Meos requires, so a quick swap at the fuse holder ends of the red and yellow wires and the power is corrected now. I did purchase an ariel extension to give more freedom of this cable at the back. Space is tight with all those inputs and cables at the back of the head unit, though with patience the unit goes in fine.

August 2010 - Where do we start?

Ok, so what have I done now! Take a step back, fling open the doors and see what we have... voila...


The new modern look to the front cab area, with dashboard and high level gear stick all helped to make the T5 the clear winner of choice over a T4 (sorry T4 guys!)


Don't think the stock VDO stereo will be there for that long... and sure enough, a brand new Meos-MC701B arrives, sporting a 7" flip up monitor screen and the usual bluetooth, sat nav and ipod integration. Now, where do all these cables go, phew?!

July 2010 - Picking up the donor vehicle

Today I picked up my new (or should I say a used '06 model) van. It took months to find what I really wanted; electric windows, abs, low mileage etc., although I had to compromise on white colour as my ideal of a black van were just very few and very far between on the used market.


Whilst I compromised on colour, I came up trumps with the condition. Not previously seen hanging around a building site or being used as a builders' mobile skip. In fact, as a caterers work van in a previous life the panels and overall condition inside and out was very good indeed. Certainly compared to some that I had seen during my search!